Measuring of the stress
The sophisticated appliance for the automatic measuring of the flat stress within the glass sheet.
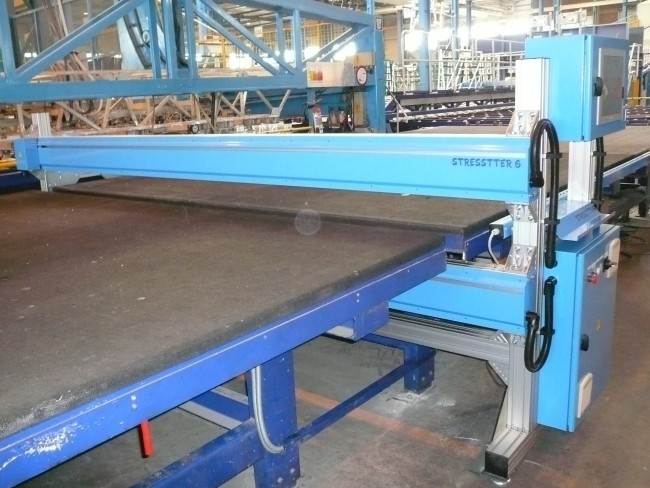
The Stresstter 6 presents an up-to-date appliance for the automatic measuring of the flat stress within the glass sheets. This measuring allows determining of the curve of the flat stress and temperature in relation to the width of the glass sample. The sample to be measured is one glass sheet intended for measuring; this one is obtained from the production line and chilled to the ambient temperature. The glass sheet is positioned onto air-cushion tables below the stress measuring appliance and aligned into the position for measuring. The flat stress and temperature are measured in a number of points across the width of glass sample. The stress vector being measured has the orientation of the glass-flow on the production line. The stress measuring appliance is designed for the glass samples having maximum length of 7000 mm and width from 1200 mm to 5600 mm, with the thickness from 1,6 mm to 12 mm. The Stresstter 6 provides for very accurate measuring of the stress with guaranteed repeatability, even for the patterned glass or wire-armoured glass. The appliance may be regularly calibrated, and it is always possible to create an appropriate Report on calibration.
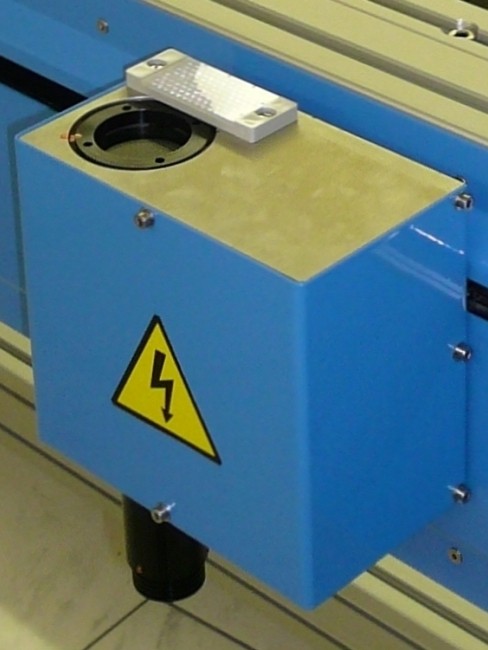
The optical system consists of the source of polarized light, which shines-through from below the glass sample being measured; this glass sample is inserted between the illuminating part and the measuring part of the optical system. The light penetrating through the glass sample enters into the measuring part of the optical system, which includes the differential Babinet’s compensator, polarizer, and the CMOS camera with lens. The optical system proceeds across the glass sample’s width and the values of temperature and stress are scanned in preset distances. When scanning the stress within the glass sample, no darkening of the room is necessary and both the operator and appliance operates under normal working conditions. Afterwards the scanning of the temperature and stress values is completed the measured values are displayed and recorded both numerically and graphically.
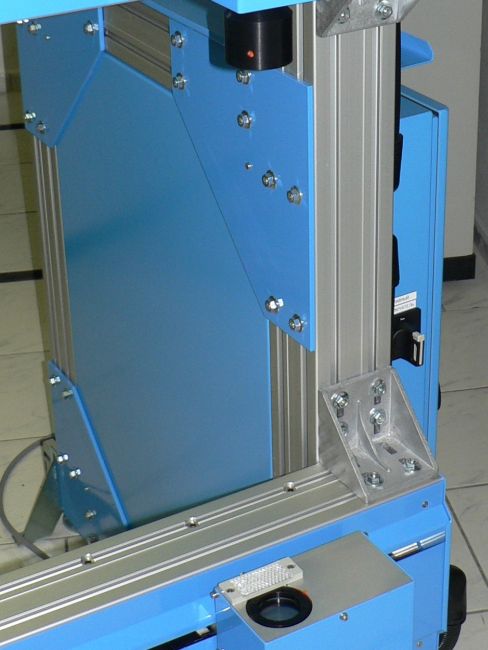
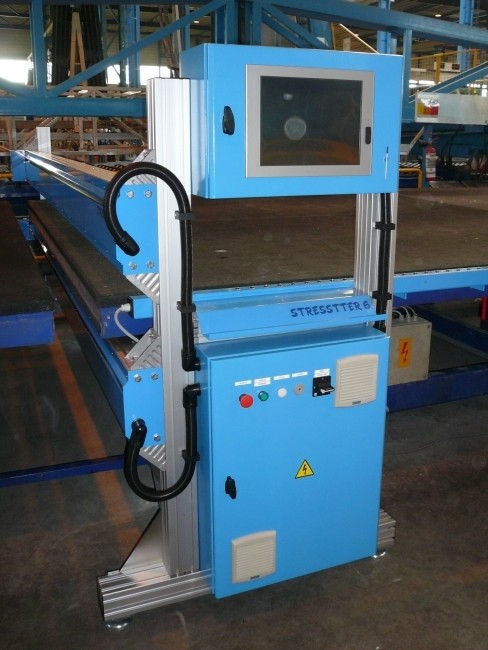
The stress measuring appliance Stresstter 6 presents the stable system which is located outside the production line. The optical system – driven by means of stepping motors – moves on the guiding bars. The sturdy frame of this appliance is made of the aluminium strut profiles. In order to allow handling with the glass sheets sample, the appropriate air-cushion tables are positioned both in front and after the appliance. The electric switchboard with the control electronics is fixed into the appliance’s frame; above the switchboard, there is the panel PC’s monitor. This monitor displays the user-friendly interface of the application software, which provides for control of the complete appliance.
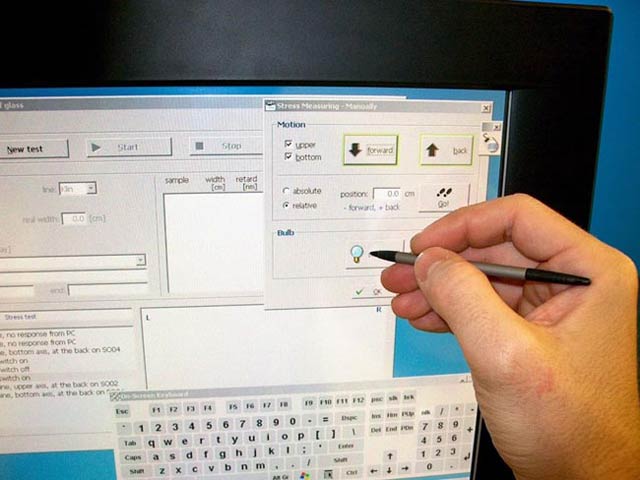
Using the TFT LCD touch-screen, the operator will enter all identification data concerning the test and the sample being measured (i.e. number of the test, date and time, glass thickness, operator’s name, and so on), and afterwards the glass sample is aligned into the position of measurement, operator will start the automatic measuring of the glass sample. The optical system moves across the width of the glass sample being measured, and the measuring of the flat stress and the glass surface temperature is performed in preset distances.
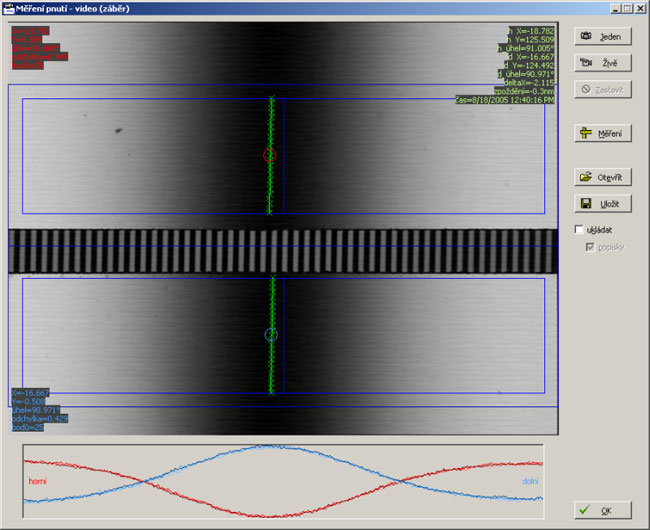
After completion of the series of measurements, an automatic evaluation of obtained data is performed. The curves of flat stress values and temperature values are graphically displayed on the screen, and an appropriate Test protocol is created. The Test protocols and curves of temperature and flat stress may be examined and further evaluated. The software of stress measuring appliance Stresstter 6 contains some tools intended for the above mentioned activity.

